Thursday, March 14, 2013
Blender General Menu
These tutorials use Blender.
Use the label menu to the right to navigate to tutorials
Image Texture Map by David Jarvis
This tutorial shows how to apply a texture map to an object. First, some definitions:
| Legend | Meaning |
|---|---|
| RMB | Click the Right Mouse Button. |
| LMB | Click the Left Mouse Button. |
| SHFT | Hold down the Shift key. |
| CTRL | Hold down the Control key. |
| ALT | Hold down the Alt key. |
Start Up
After starting Blender, part of the screen should resemble:
The item in the centre of the screen is a 3D box.
- Press F12 to render the scene.
- Press ESC when finished.
Editing Buttons
Along the bottom of the screen are a set of icons on top of a tabbed panel:
The tabbed panels are for editing the cube's physical structure. We want to change its shading.
Shading
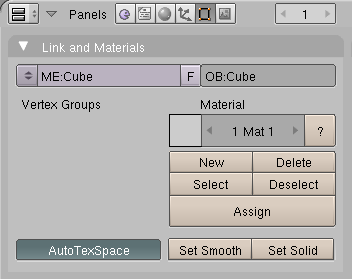
The default cube already has a material assigned, named Material:
(This step showed how to reveal the texture icon via the Shading buttons.)
Texture Buttons
- Change Texture Type from None to Image
- Click Load Image
Choose your own file; I loaded the following brass image:
The Preview changes to:
Press F12 to render:
The brass appears to smear because the input texture maps to a flat surface. To fix it:
- Press ESC to close the render.
- Press F5 to open the Material buttons. You should see the following panel:
- Click the Map Input tab.
- Click the Cube button.
- Press F12 to render.
THE END - Download
Subscribe to:
Posts (Atom)


